
The framing tips below will help you present your artwork in a way that collectors and galleries will appreciate.
Tip 1: Use Floater Frames when framing encaustic paintings
Floater frames are an excellent choice for framing encaustic paintings. While gallery-depth panels don’t necessarily need frames, regular-depth panels look more polished when framed. Floater frames let you mount your artwork without glass, keeping the surface untouched. These frames create a beautiful negative space between the artwork and the frame, adding depth and protecting the edges from damage.
Tip 2: Use Masking tape to protect the sides of your panel
Before you start painting, apply masking tape to the edges of your panel. Once your painting is complete, remove the tape and finish the edges for framing. You can paint, shellac, stain, or use encaustic medium to smooth the sides, ensuring a professional finish.
Tip 3: Use shims to position artwork in a floater frame
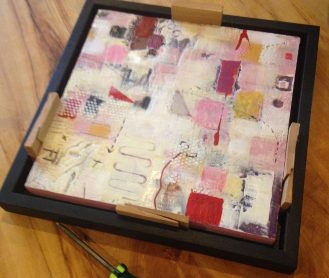
Wooden shims are perfect for evenly positioning your painting in a floater frame. Secure the shims tightly between the panel edge and the frame to hold the artwork in place. Be careful not to damage the frame or painting during this process. Once aligned, turn the frame over and attach the painting securely.
The shims will hold the panel tightly in place while you screw it in place. You’re welcome. 😉
Tip 4: Use bumpers
Identify the top of your painting, then attach bumpers to the bottom corners of the frame’s back. Bumpers, made from materials like plastic, rubber, felt, or cork, protect walls from marks and help the painting hang straight.
Tip 5: Use D-rings
Measure down from the top of the frame to attach D-rings. For consistency, ensure both sides are the same distance from the top—about one-third of the frame’s height is a good rule of thumb. Use an awl to create starter holes, then screw in the D-rings.
Tip 6: Measuring your artwork for framing
When ordering a frame, it’s essential to measure more than just the panel’s width and length. Pay attention to the frame’s:

- Rabbet Depth: The space inside the frame where the artwork sits. Always order frames based on the rabbet dimension to ensure a proper fit.
- Face Width: The front-facing lip of the frame.
- Height: The depth of the frame from the wall to the face.
This diagram helped me understand the different parts of a frame.
Tip 7: Use plastic coated picture wire
Plastic-coated steel wire is durable, easy to work with, and won’t cut your fingers or mark walls. Avoid messy wire by watching this tutorial on how to neatly wire your frame.
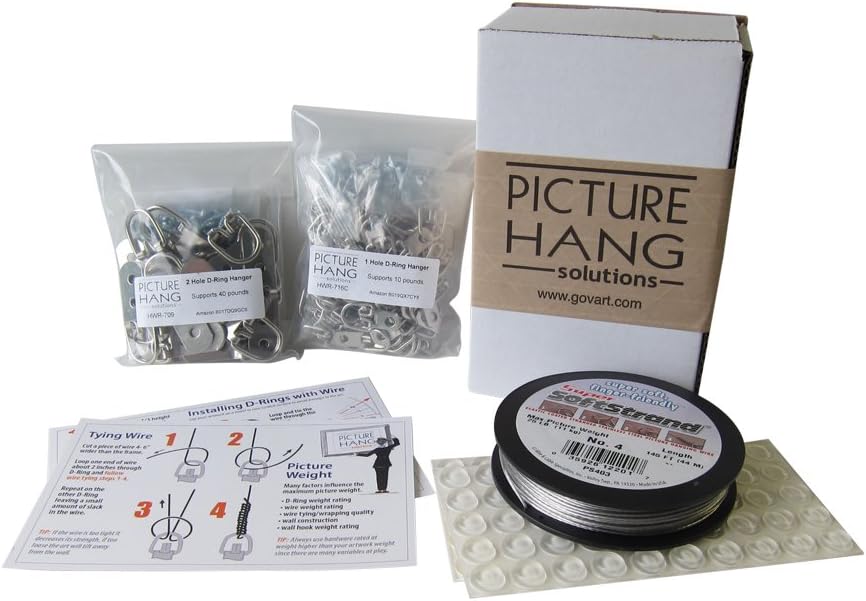
Where to Buy Framing Supplies
- Picture Frame Wire Kit on Amazon: Includes D-rings, screws, vinyl-coated picture wire, rubber bumpers, and wire-tying instructions.
- Ampersand Floater Frames: Complete with coated wire hanging hardware.
I hope you found these tips helpful for framing encaustic paintings. If you have additional tips, please share them in the comments below! You might also enjoy reading this post about framing encaustic paintings.


Thank you for your blog. I work on wood panels. The requirement used to be that the panel needed to be 2 inches deep for gallery requirements. It looks like the floater frame doesn’t meet this requirement. I am starting on a series and want to make sure that what I use as a substrate meets gallery requirements. If you have any info about this please let me know.
You might be able to clear this up for me rather than having to call different galleries to see what they say. Many in my area are not “business as usual right now”
Thanks to you
You’re best to check with your local galleries. I have never encountered such a requirement.
Thank you! This was very helpful. One question: I saw the Ampersand panels labeled “thin” and “bold” but they looked the same and I didn’t see the rabbet depth specified.
Hi Lorraine, this link will answer your questions. The thin edge has a 1/4″ face and the bold has a 3/8″face. They sell two depths 7/8″ depth models also include risers for flat panels and 3/4” deep panel.
This is great! Thanks! I’ve found small pieces to be a special challenge. They have to be framed with the hooks inside the frame or the paintings bow out.
Thank you. This was very informative!
Thanks for commenting Kathleen. I’m glad that you found these tips helpful.