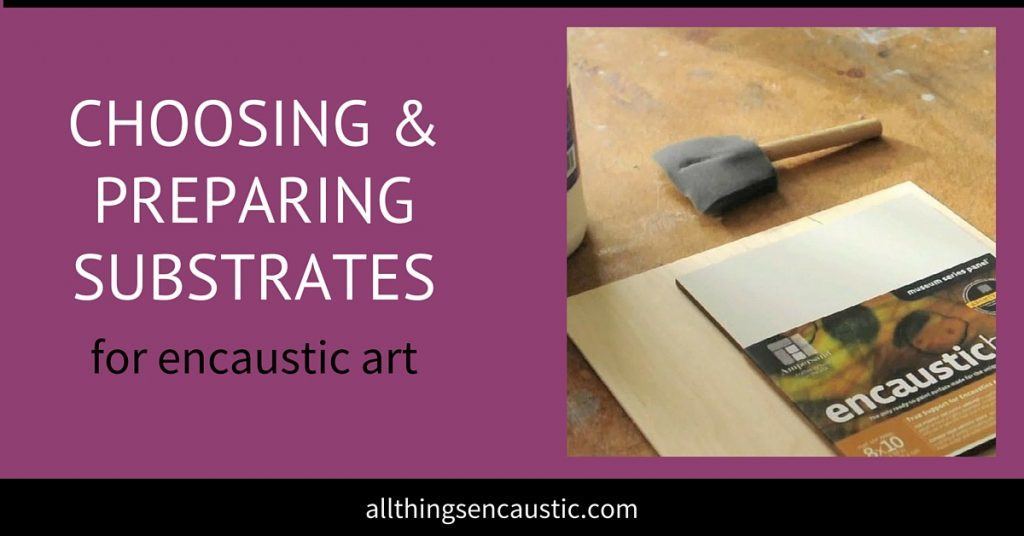
The topic of substrates and how to prepare them for encaustic art is often confusing for beginners.
Choosing a substrate for Encaustic art
When choosing a substrate, make sure it is rigid and absorbent—usually a wood panel. Most beginning photo encaustic artists choose any number of manufactured boards, either flat or cradled—it does not matter. Keep in mind that any hardboard (compressed wood particles) tends to hold heat a little longer and might slow down your process slightly.
If you don’t want to worry about any of this just pick up some Encausticbord’s and start working away. They tend to be slightly more expensive but well worth the cost when you are starting out.
Prepare a Ground with Encaustic Gesso
You can also prepare your own board. The term ‘gesso’ gets thrown around a lot. Gesso’s (made largely from chalk) are grounds and not sealers. We don’t want to seal our substrates, we want them to remain porous. An encaustic gesso (not an acrylic gesso) mediates between the substrate and the medium, providing a reflective surface. If this reflectivity isn’t essential to your work, then you can work directly on a bare board.
How to Prepare Substrates for Photo Encaustic
For photo encaustic, artists usually prepare boards in one of two ways:
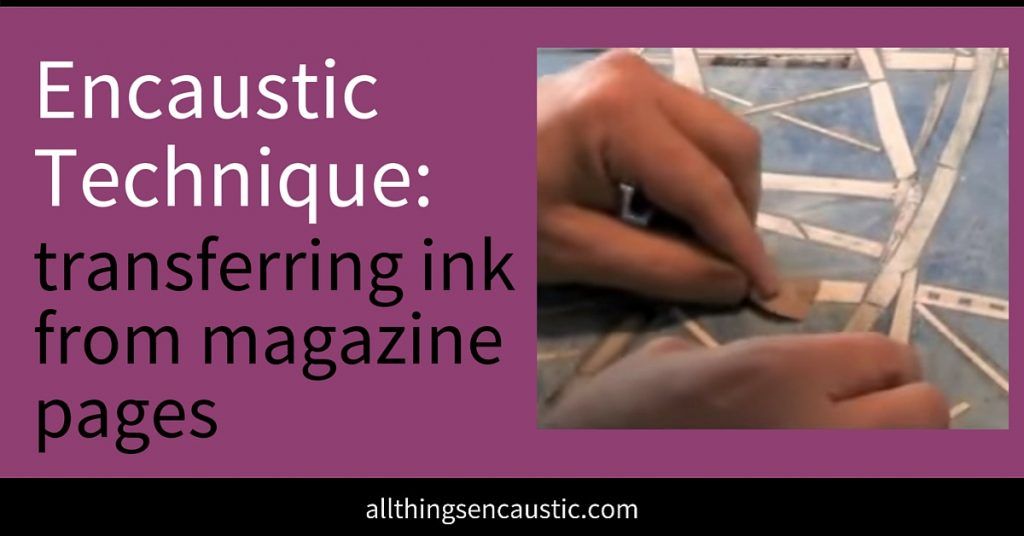
- The first way is applying a paper ground, which usually has an image printed on it. Depending on the thickness and absorbency of the paper you print on, applying wax can make the paper semi-transparent, therefore, the grain and color of the wood may come through, affecting your image. You can always decide to use this to your advantage if you love the grain of the wood. If you don’t want the grain (or brownish color of hardboard) to come through then make sure you add an undercoating of paint (such as a white tempera paint) before you glue your image down. Keep in mind the tempera paint is not a ground, the paper is the ground, and the tempera is only to block the wood showing through to your image.
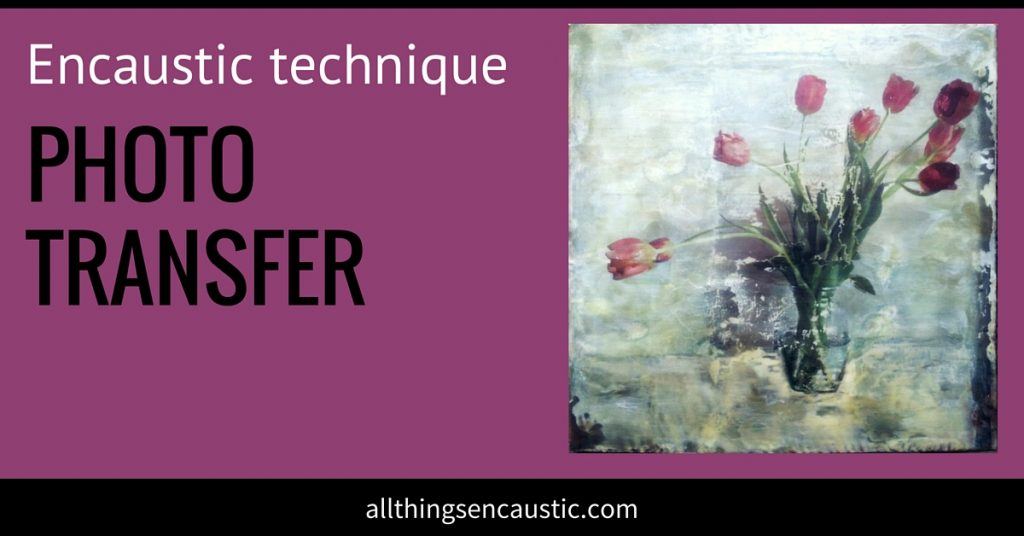
- The second way to prepare your substrate is for embedding non-traditional paper or a photo transfer. For this process, we start by building up layers of wax first, the gesso layer is optional, it is not necessary to apply a paper ground to the substrate. You can just begin with applying your first layer of medium directly to your substrate.
When creating a wax-prepared substrate you may get more bubbles, or pinholes, as the air in the substrate migrates its way to the top. Higher quality materials contain less. Personally, I love the bubbles and embrace them as part of the piece. But not everyone is as fond of them as I am. If this is the case you may want to experiment with different substrates or apply a paper ground as mentioned above. This tends to mitigate some of the pinholes.
When in doubt, experiment. See what works best for you.
i thought this would be a good place to ask… as i have come back to encaustic after a three year hiatus building a house. i do hope also to set up a studio in a small cabin that i have lived in while building.
my question is… i do like to use a cradled panel but i have just discovered that if i warm it, only the center where there is no cradle will get warm and that leaves an odd shape of warmed wax.
can anyone tell me how to do this so that the cradle itself will also get warm enough so that the whole top surface is warm?
please and thank you.
georgia
What a wonderful website! So informative and inspirational, thanks