
A few people have asked me about a technique that I’ve been using this year. I call it Encaustic Ribbons.
I’m sure other encaustic artists have done the same thing before but I hadn’t seen it done anywhere. I stumbled upon this encaustic ribbon technique quite by accident. I took a painting that I wasn’t in love with, warmed it up and with a warm paint scraper started to scrape off the wax. The wax came off in luscious smooth wax strips. Strips that were too pretty not to keep—so I saved them and started adding them as one would a collage element to other encaustic paintings.


How to create ribbons of wax
- Start with an old painting that you want to scrape down or on a new panel, apply and fuse three layers of encaustic wax. I’ve found that 3-5 layers work well.
- Fuse as needed so the wax is warm and pliable (but not too soft).
- Heat a clean warm paint scraper. I lay mine on the edge of the griddle to warm up and turn it over to warm both sides.
- Press down firmly and scrape the wax off across the panel.
- Warm the area on the new painting where you want to apply the encaustic wax strip. Use a gentle embossing heat gun to gently warm the back of the wax ribbon being careful not to melt too much. Press the ribbon of wax onto the warm wax. Lightly fuse.
I use a panel but I think that one could create ribbons or other shapes on parchment paper or a silicone mat.
Encaustic ribbons don’t need to be flat on the panel. You can leave a 3-D effect but keep in mind that those areas might be somewhat fragile.
I have also cut out shapes such as circles from the ribbons, but I don’t have a finished piece to demonstrate this.
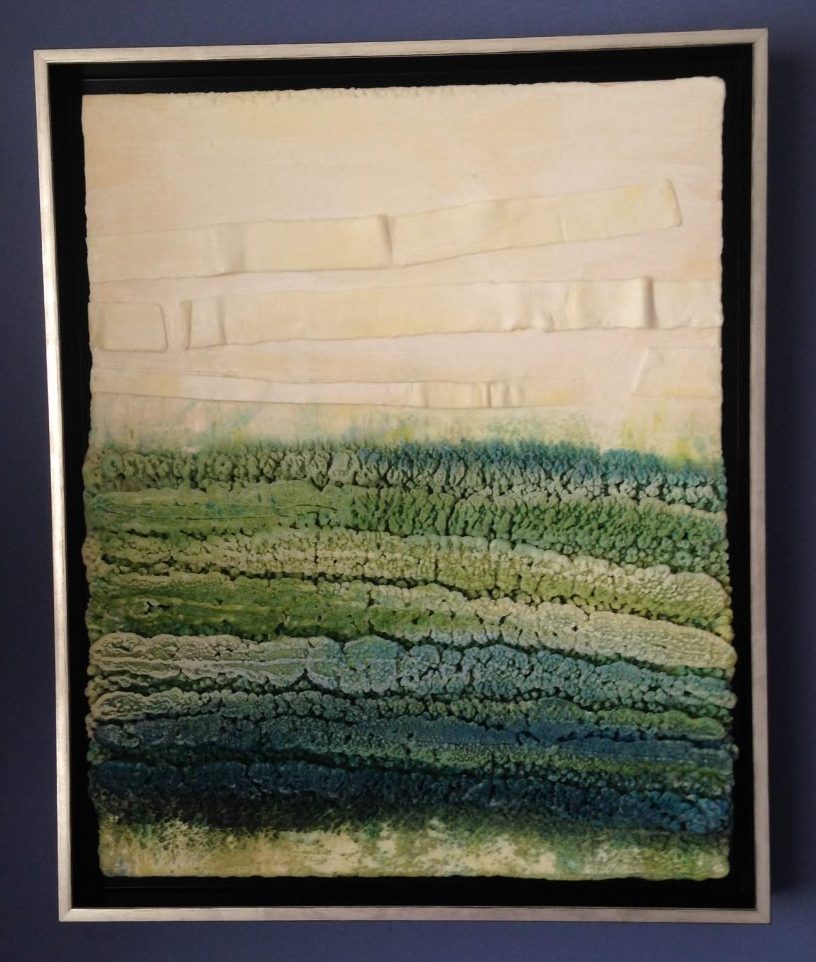
You can further work on top of the ribbons. In No Ordinary Day, I used a Neocolor (water-soluble wax pastel) to draw a darker green line on the ribbon.
Hope you have fun using this technique in your own art.


Ruth, would love to see you do a video on this and if you do please share it on Creative Wax Studios! Diane
Thanks, Diane that is a good idea. I’ll let you know when/if I get to it.
Another way to make ribbon is to layer your encaustic on parchment and then use a pizza cutter (rolling thing) to cut it into strips as wide or narrow as you like.
This technique can also make ‘mosaic’ pieces that you can then re-assemble on your work. In fact, if you want to have a true mosaic look (with several colors interspersed) you can make several parchments with different pure colors on each, stack them up with another parchment on top, and use that pizza roller to make curved lines thru all the layers at once — crossing into whatever pattern you like — then swap the colors around so you end up with as many works as you have parchments. Each ‘mosaic’ can then be placed into a foundation and fused. (It’s easier to do than it is to tell!) If you want to do a large piece, you can lay a parchment over a particular section, trace the lines you want, flip the parchment over and make you mosaic pieces, lightly fuse on the parchment so the wax pieces shrink a little, then flip over and set these pieces into a warm surface. (That makes the top of the wax absolutely smooth, looking a lot like ceramic glazed tiles.)
Thanks Lois
You can cut small sheets of marine ply wood.
soak them in water.
slant your board above the water.
pour your wax down the board and this makes thin sheets of wax.
dunk the waxed board in your bucket of water and the wax sheet will float off.
dry the wax and cut it as you please.
From Sandra a retired beekeeper in Australia
Thanks, Lois, for the tip on encaustic ribbons. I was looking on your Flickr site, but don’t see your encaustics. Did I miss them? Would love to see what you do.
Hi Ruth Martin Maude – How creative is this? Your paintings are beautiful and compelling. Love the textures! I’ve never seen this technique used and thank you so much for the great ideas!
Thanks, Hety!
I would love to see some videos of these techniques.