In this blog post, let’s explore how to begin your sketchbook journey and develop a unique, expressive mark-making style.
BUT…
before we dive into how to start a sketchbook, let’s consider what might be holding you back.
Starting a sketchbook can feel intimidating. Maybe you resist sketching because you don’t see yourself as a “real” artist. There’s a common misconception that artists should sketch effortlessly, as though it’s an innate talent rather than a learned skill. This belief can create unnecessary pressure and self-doubt, making it even harder to begin.
Or perhaps you’re an abstract artist who thinks sketchbooks are for those who draw realistically. In fact, abstract art relies heavily on an artist’s visual vocabulary—the unique marks, shapes, and patterns that communicate emotion and meaning. A sketchbook can be an invaluable tool for developing and refining this vocabulary, allowing you to experiment freely and discover new ways to express yourself.
The truth is, sketchbooks are messy, raw, and full of trial and error. They’re about the process, not the final result. Let go of the fear of making mistakes and embrace the freedom to experiment. Your sketchbook is a personal space, free from judgment, where you can experiment and play. Think of mark-making exercises as your artistic warm-up—like a pianist practicing scales. Not everything you create as a visual artist will be a finished product, and that’s okay.
Above all, remember that there’s no right or wrong way to use your sketchbook. The only person judging your sketchbook is you. So silence your inner critic, grab your tools, and dive in with confidence.
How to Start a Sketchbook
1. What You Need to Start a Sketchbook
Starting a sketchbook practice doesn’t require much—just a few basic supplies to get you going. Here’s a list of essentials that you likely already have in your studio or home:
- A Sketchbook: Choose a sketchbook that suits your style and needs. If you’re just starting out, a simple, medium-weight sketchbook with uncoated paper is a great option.
- Pencils: A range of pencils, from soft (B) to hard (H), will allow you to create different line qualities. A soft pencil is great for shading and creating rich, dark marks, while a harder pencil is ideal for fine lines and light details. Coloured pencil crayons can be fun.
- Pens: A good set of pens, like fine liners or gel pens, will help you experiment with line work, contrast, and texture. Try different nib sizes for varied mark-making.
- Charcoal: Charcoal sticks or pencils are perfect for bold, expressive marks. They can create deep, dark lines or softer, smudged effects, adding texture and depth to your sketches.
- Brushes and Ink: If you want to experiment with fluid, dynamic marks, brushes and ink are a great addition. You can use them for bold strokes, washes, or detailed line work.
- Unconventional Tools: Don’t be afraid to try out other tools like sponges, sticks, or even your fingers. These can create unique textures and marks, pushing the boundaries of your creativity.
- An Eraser: A standard rubber eraser works well.
- A Ruler: for creating grids
With just these basic supplies, you’re ready to start your sketchbook. The key is to experiment with them, see what feels natural, and begin developing your own personal mark-making style.
2. Exercises to Get You Started
To help you get started, try these simple mark-making exercises, they’ll serve as a guide to help you as you start a sketchbook practice of your own.
- Exercise 1: Line Variations
Use a pencil or pen to create a series of different lines: straight, curved, wavy, and zigzag. Experiment with varying thicknesses and lengths. Try drawing these lines at different speeds, and notice how the marks change depending on your hand’s pressure and motion. Here is a full description of the exercise to explore line variations - Exercise 2: Texture Exploration
On a fresh sketchbook page, experiment with creating textures using different tools. Try cross-hatching with a pen, stippling with a pencil, or using a sponge to create rough, irregular marks. Notice how different textures can suggest depth or the feel of a surface. Start with this exercise if you’re interested in drawing texture - Exercise 3: Word Prompt
Think of the word “momentum” and let it guide your pencil before you even touch it to the page. Allow your hand to move freely across the page, instinctively responding to the rhythm and energy of the word. Use your whole arm to create expansive strokes, not just your wrist. Word Prompts are particularly helpful for developing your visual vocabulary.
3. Notice Recurring Marks in Your Art
Reflect on your previous artwork. Look through old sketches, drawings, or paintings and notice any recurring marks or shapes that appear. Do you often draw symbols like an infinity loop, an X, a wave, or a cross? These marks might reveal something about your subconscious style or even your emotional state during the creation of those pieces. Ask yourself: What do these marks mean to you? Do they represent something specific, like a feeling, a concept, or a memory? This activity will help you identify personal motifs and symbols that can deepen your visual vocabulary and add meaning to your work.
My dear friend and mentor Andrea Bird often carved x’s into her encaustic paintings. The meaning of this to her was blowing a kiss through time (read the interview).
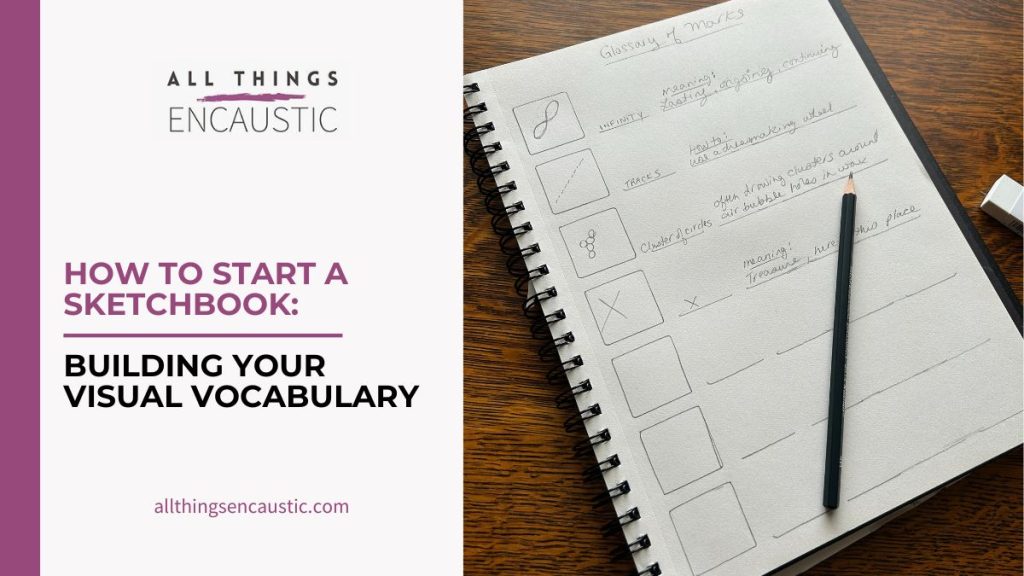
4. Create a Mark-Making Glossary
One way to deepen your understanding of mark-making is by creating a glossary in your sketchbook. When starting a new sketchbook, dedicate a section to cataloging different marks and their details. This practice helps you explore and document recurring marks, building a personal library to reference in your artwork. Over time, your glossary becomes a practical and creative resource, enriching your artistic journey.
I dive deeper into the process of creating a Mark-Making Glossary here.
Quick Start Guide:
- Set Aside a Section: Reserve part of your sketchbook (like the back) for your glossary.
- Draw Small Squares: Use these as containers for individual marks to keep things organized.
- Name Each Mark: Assign descriptive, personal names to your marks, like “Lightning” or “Cluster of Circles.”
- Take Notes: Record details about the tools, techniques, and methods used to create each mark.
- Reflect: Write about what the mark means to you—its emotional or visual impact.

This simple yet powerful exercise will not only deepen your connection to your art but also inspire you to experiment and grow creatively.
5. Incorporate This Practice Into Your Artistic Life
Using a sketchbook doesn’t have to be a rigid daily routine. Instead, make it a natural and enjoyable part of your artistic life. Keep your sketchbook and supplies in a convenient spot, ready to pick up whenever inspiration strikes or when you have a few moments to spare.
By removing the pressure to sketch every day, you allow yourself the freedom to explore and grow at your own pace. Embrace your sketchbook as a tool for experimentation, creativity, and personal expression—on your terms.
For me, the best time to do a mark-making exercise is when I first enter my studio. As I wait for my encaustic medium to heat up, I have time to warm up my hands and mind with simple mark-making exercises. This routine helps me transition into a creative state and prepares me for the more complex work ahead. Whether it’s drawing quick lines, experimenting with texture, or simply letting my hand move freely, starting with mark-making helps me loosen up and focus on the process rather than the outcome.
Conclusion
Starting a sketchbook can be a deeply personal and rewarding journey. It’s not about creating perfect artwork or proving your skills—it’s about exploration, growth, and embracing the creative process. By experimenting with tools, techniques, and mark-making exercises, you’ll develop a unique visual language that reflects your artistic voice.
Remember, your sketchbook is a safe space for trial and error, a place to document your ideas and build confidence. Whether you approach it as a daily practice or pick it up when inspiration strikes, let it become a natural extension of your artistic life.
So, gather your supplies, silence your inner critic, and dive into the freedom and discovery that comes with sketching. The journey is yours to shape—one mark at a time.