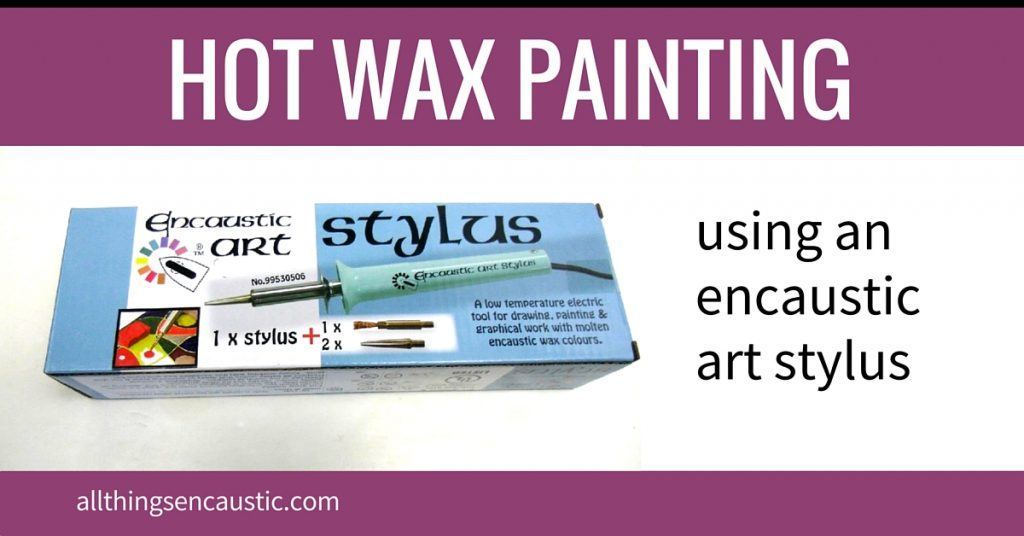
There are many different tools used in hot wax encaustic painting. Of all my heat tools, I find I use my small encaustic irons and encaustic art stylus tools, the most. Encaustic as an art form covers many different styles and techniques of painting and the tools used vary widely.
Heat tools work well in combination with each other. I find that the hot plate, encaustic heat gun, irons and stylus each serve different purposes in creating a piece of artwork.
The wax I use is a ready-to-use encaustic medium supplied by Michael Bossom here in the UK, this is where I sourced my encaustic art iron, encaustic art stylus tool, together with the support material. Most of my work is on the gloss card designed for encaustic. I do use other supports too such as canvas board and watercolour paper.
Using an Encaustic Art Stylus tool
Stylus tools are great for adding detail and, depending on the nib attachment, creating different effects in the wax, from adding new wax into a picture to carving into the wax creating texture and dimension.
There are several types and brands of low heat stylus tool on the market, I have the “Encaustic Arts” model and one from another European supplier and many nibs and tip attachments.
Stylus tips and nibs are very versatile, a “micro iron” nib attachment is the tool I use all the time, I have it permanently on one of the stylus’, there will be few paintings I won’t have used this on in some way.
The micro iron nib, is small, about 15 x 10 mm in size and great used in the way a palette knife might be used, to add wax, layer wax in small areas, blend colours, create light and highlight just by the angle it is used at, pushing and cutting into the wax.
Nibs such as the “pen-style tip” are great for adding details, drawing into a painting and blending, the “wire brush” style nib is made from delicate strands of wire and this tools can be very useful for adding fine lines and texture. Other attachments such as larger iron shapes, round, square and angular attachments are also available.
Working with the heated Encaustic Art Stylus
The image below shows how the stylus tool can be used.
Using the Encaustic Art Stylus nibs at different angles
By using the stylus nibs at different angles as demonstrated, we can add features and detail into our work.
- the pink flower is having a new colour added using the micro iron nib, blending a yellow wax into the pink of the petals
- the sunflower seed heads are given detail and texture using the wire brush attachment
- Using the very top of the nib, tiny birds are added to a seascape sky
- The flat of the nib makes great flower petals
- We push into the wax adding a fence to a landscape with the edge of the tool to define a line
Buy the Encaustic Art Stylus
The encaustic stylus and tips are available from amazon you can purchase yours here.


If you put down Indian ink on a picture that you’ve already done within encaustic . The Indian ink is not on a waxed surface as the rest of the picture I want to use the stylus to put some wax marks on it can I or do I have to first put the wax on the Indian ink before I put the wax from the stylist on top. .? or do I do both put the stylus wax on the plane surface with the Indian ink and then put the wax on top of it. Thank you. I need an answer ASAP.
Sorry Lynne I’m not understanding your questions. If you’re on Facebook ask the question in the group and we can try to sort out what you’re trying to accomplish.
As a self taught artist and new to the field of encaustics I just knew this is something for me that I will enjoy more.One day I give it a try and find myself amazed as how it turned out! since then I keep going.I admired your work and please keep it coming..More power!