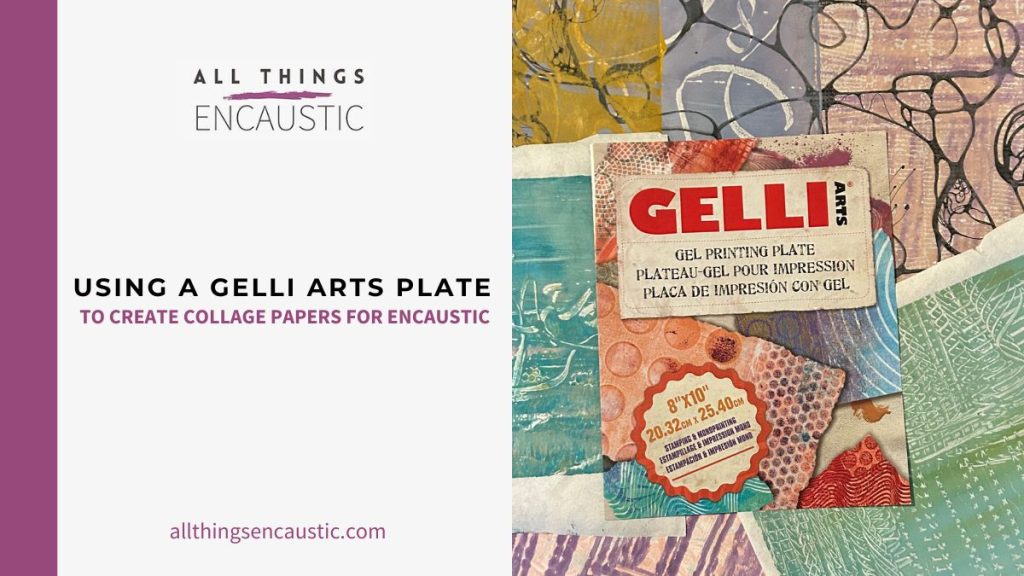
This post walks you through everything you need to create collage papers with a Gelli Arts Printing Plate using acrylic-free encaustic-compatible products.
Disclosure: Gelli Arts sent me a plate to review for this blog post.
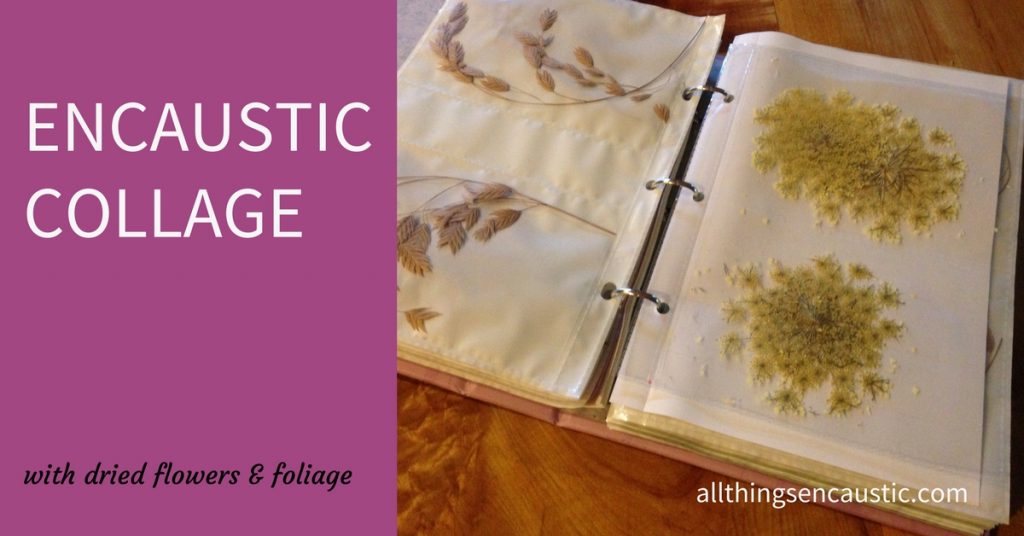
Gelatin Printing & Encaustic Collage
Gelli plate printing is a fun and versatile way to create unique collage papers for mixed-media encaustic work. However, before you dive in, it’s important to consider the type of paint you use.
While acrylic paint is a popular choice for Gel printing, it’s not ideal for encaustic projects. Its smooth, plasticky surface prevents wax from adhering properly, which can lead to delamination or peeling over time. Encaustic wax requires a porous or textured surface to create a strong bond between layers.
Thankfully, there are excellent alternatives that ensure your encaustic layers remain securely bonded for years to come. Let’s explore how to adapt your Gelli plate printing techniques to work beautifully with encaustic.
Acceptable Paints for Encaustic Collage
For encaustic painting, it is best to avoid using acrylic paint. Encaustic wax may not adhere well to acrylic paint. Acrylic paint contains plastics and forms a polymer film when it dries, creating a barrier between the wax and the substrate, potentially leading to poor adhesion and delamination over time. For this reason, only use encaustic over surfaces that are porous and receptive to the wax medium.
Acrylic paints are often used for Gelli Plate Printing but I have found that I can achieve similar results with the following alternatives. Prints made with these paints can be used as collage papers with encaustic.
- Chalk paint
- Encaustic gesso (white)
- Coloured Gesso tinted with Kama aqua dispersion pigments
- Pigment Sticks
- Ink
Materials You’ll Need:
In addition to the paint you’ll need the following.
- Gelli Arts Printing Plate (a flexible, reusable gelatin-like surface)
- Brayer (roller) for spreading paint
- Paper: Select thin papers (see suggestions below)
- Texture tools: Stencils, bubble wrap, leaves, string, or fabric
- Silicone Mark Making tools
- I use a stay-wet tray to mix paint colours. You’ll need Parchment paper / Cafeteria Trays / Blue Shop Towels / Water
Paper for Gel Plate Printing
When selecting paper it helps to understand GSM or Grams per Square Meter. GSM indicates the thickness of paper or fabric. The lower the GSM number the thinner the paper is. For a point of reference, copy paper is typically 90-120 GSM, newsprint is around 45 GSM. For encaustic collage, thinner paper under 70 GSM works best, as it becomes translucent when embedded in wax.
Good paper choices are:
- Sumi Rice Paper (roll or sheets)
- Washi – (Japanese paper)
- Thin Collage Papers for example: sewing pattern paper or pages from old books
- It’s also fun to print on papers that already have ink drawings, handwritten text, or doodles, as the layered effect adds depth and a unique mixed-media touch to your prints
Basic Gelli Printing Process
1. Mix Your Encaustic Gesso Colours
- Setup a Stay-Wet Palette following the instuctions in this post. You’ll need Parchment paper / Cafeteria Trays / Blue Shop Towels / Water
- Put a small amount of white encaustic gesso onto the palette surface
- Mix in a drop or two of Kama Aqua Dispersion pigment until you have the desired colour
- Charge your brayer – roll it in the paint
2. Apply Paint to the Gelli Printing Plate
- Use the brayer to roll the paint onto the gelli plate. A thin, smooth layer works best.
- Experiment with inks and Pigment Sticks for different effects
3. Add Texture
- While the paint is still wet, press stencils, stamps, bubble wrap, or textured objects onto the paint to create patterns.
- You can also use a silicone or wipe out tools to draw into the paint.
- Mask areas with cut-out paper or tape.
- Create impressions of leaves, dried flowers, or found objects.
- Layer multiple pulls on the same paper for depth.
- Photo Transfer: Use images from laser printers or glossy magazines.
4. Lay Down the Paper
- Place a piece of paper over the Gelli Arts Plate.
- Press evenly with your hands to ensure the paper picks up the paint and texture.
5. Lift the Print
- Peel the paper off slowly to reveal your print. This is your “first pull.”
- If there’s still paint left on the Gel plate, you can make a “ghost print” (a lighter, secondary print) by placing another sheet of paper over it.
6. Experiment and Layer
- Add more paint, textures, and layers to create depth. Each layer can be printed on top of the previous ones to build up your design. Tip: When layering prints, allow the first layer to dry completely before printing over it.
7. Clean Up
- You don’t need to clean your plate between every print—residual marks can add interest to subsequent prints.
- You can clean the plate with water. If the plate needs a deeper clean use Dawn dishwashing liquid soap.
- Wash the brayer and any tools with water before the paint dries.
Using Your Prints in Encaustic Collage
Gel plate prints can be glued to the substrate before wax is added. Alternatively, to suspended the print between wax layers gently burnish the paper onto a smooth encaustic surface, then apply gentle heat to melt the wax below, drawing it up through the paper.
Printing directly onto an encaustic painting
My favourite way to use a Gelli Plate with encaustic is with pigment sticks. Draw directly on the Gelli Plate with Pigment Sticks, then lay the plate face-down on top of your encaustic painting. Apply pressure and then peel it off. Gently fuse with a torch.