Before you begin to paint with encaustic, you’ll need to pick up encaustic art supplies and set up an encaustic studio space. Once you have all the supplies you need in hand, come back here to learn how to paint with encaustic.
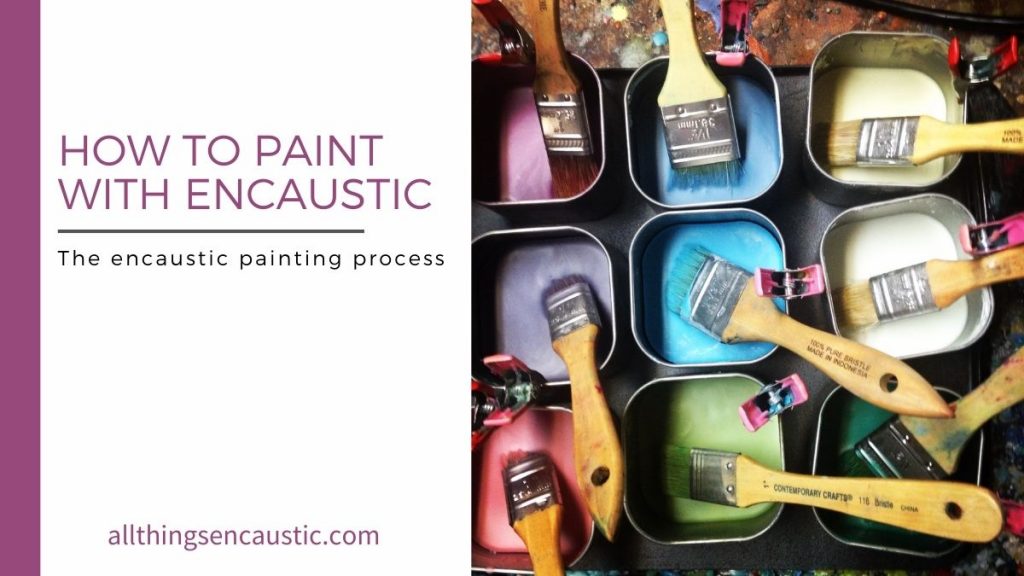
5-step Encaustic Wax Painting Tutorial
Follow these 5 steps to learn how to paint with encaustic
- Select and prepare a substrate
Start with a suitable substrate, you may wish to read about choosing and preparing substrates before you continue…
Before you begin to paint you may wish to use painter’s tape to cover the sides of your panel. When you’ve finished the piece you can remove the tape and decide how to further finish the edges of your painting.
If you wish to paint on a white ground you can purchase Encausticbord or prepare your substrate with encaustic gesso or chalk paint. This is optional, it is perfectly acceptable to paint with encaustic directly on an unprimed panel or board. - Melt the encaustic medium in tins on a hot palette
Encaustic medium is made from beeswax and damar resin. You can read here about how to make your own encaustic medium or you can purchase a ready-made encaustic medium.
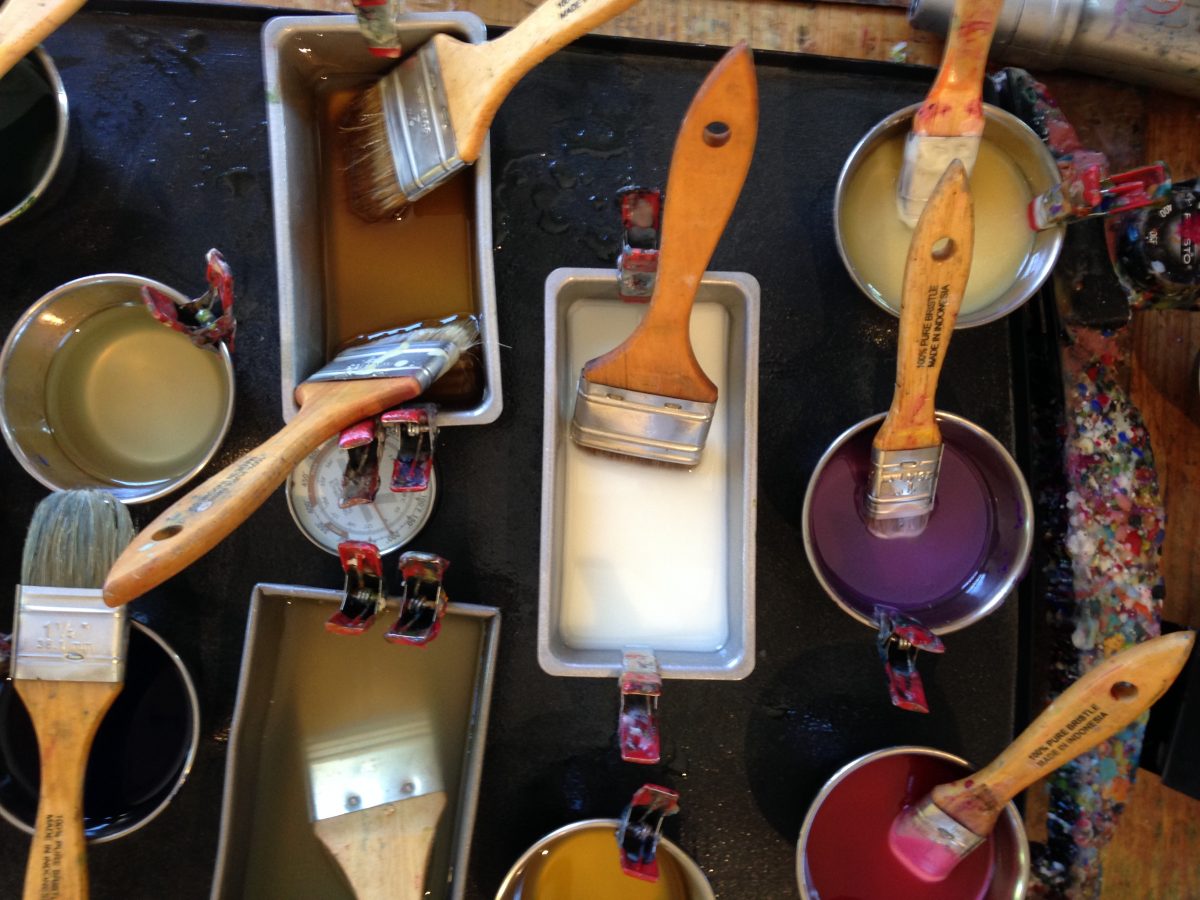
Some artists mix all of their colours directly on the griddle, while others use metal tins. I do both.
I use a pancake griddle filled with small metal pots. Watch the temperature – keep it between 150° and 200°F. You can melt encaustic medium in tins and then add oil paints for colour. You can also purchase pigmented medium.
- Applying the wax – Brush the medium onto the substrate
Choose natural hair brushes (hake or hog bristle brushes) for encaustic, synthetic brushes will melt.
You need to not only heat the wax but you also need a hot brush. Leave your brushes in the pots of coloured wax or on the surface of the griddle as you paint and they will stay warm enough. Now to start painting! - Fuse every layer
Brush a layer of molten encaustic medium onto the substrate and then fuse it.
Encaustic wax is applied to a painting in layers, and each layer is fused. Fusing as you work simply means to apply heat to allow each layer to soften enough in order to merge with the previous layers. Fusing provides bonding between layers and overall stability.
You need to fuse the first layer of wax to the substrate and then each subsequent layer needs to be fused to the layer below. There are a variety of encaustic fusing tools used by artists working in encaustic including the heat gun, blow torch, embossing heat gun, Encaustic iron, and stylus. Heat lamps can also be used. Different effects can be achieved with the different fusing tools. - Scraping, Incising and Gouging
Clay tools work well for scraping, incising, and gouging into encaustic wax. Scraping helps you achieve a smooth surface. Read more here about encaustic scraping tools
The sky’s the limit….
Encaustic is a very versatile medium. There are seemingly endless possibilities for creating art. Here are a few other techniques to explore now that you understand the basic process.
- Medium can be translucent or opaque—you can work through the layers starting with a photograph or underpainting on the substrate
- There are any number of mark-making methods to draw on encaustic
- Beeswax works very well with mixed media. The wax will hold absorbent collage elements in place.
- The encaustic surface can be textured or smooth
- The Photo transfer technique is one of my favourites
- Stencils and stamps can be added to encaustic artwork
- Embellish with gold leaf, pan pastels, rust
Want to learn more about how to paint with encaustic?
Subscribe to my mailing list so you don’t miss a blog post. You can also follow the All Things Encaustic Facebook page.


How do I use pigment powder to make encaustic colors? I use large tuna cans to mix in but don’t know the measurements and the ones I’ve made always separate.
I don’t see anything about the safety of encaustic. This medium is highly toxic and requires a ventilation system beside the griddle as it is also highly flammable. As I can appreciate/thank you for your tips and techniques it’s also irresponsible not to mention this to anyone who wants to start this or continue.
There is a lot of information on my blog about safety. If kept at safe temperatures encaustic is not highly toxic. It is less toxic than art mediums that use solvents
Here are two posts:
https://allthingsencaustic.com/encaustic-studio-ventilation/
https://allthingsencaustic.com/encaustic-fire-safety/
Thanks for this information on encaustic painting! I never knew it was really a thing until I read this. Interestingly enough, I had already been playing around with wax painting using a pencil tin for melting broken crayons… Do you know if it is dangerous to heat crayons or the paint that might be on old tins? Do I need to find specialized ingredients to make real encaustic paint? I live in a place where I cannot find many special art supplies, but I really want to try this anyway.
Hi Juel, The concern with melting broken crayons is that crayons are typically made primarily from paraffin wax and colour pigment. Check the manufacturer’s website to find out what is used in your brand. Paraffin wax is too brittle for encaustic. As with all wax art, you would want to make sure you have proper ventilation. And no, you don’t want to breathe in fumes from old paint that might be on the tins. This post explains how to make your own medium https://allthingsencaustic.com/making-encaustic-medium/
Do you know of specific information on using a photograph as the base of encaustic painting? Is there an acid problem? And, how do you adhere photo to board or canvas without to melting from the heat gun later in process?
Hi Diane, Read this post Photo Encaustic Tutorial and I highly recommend taking a Photo encaustic workshop.
I am a mixed media artist and use many small metal pieces in my projects. I am a newbie with encaustic and wondering if these small metal pieces can be embedded in the wax. If so, do you know of any tutorials that might provide some guidance on how to.
Thanks much!
Hi Sophia,
Metal is an interesting collage element. If the metal is small, light-weight and thin then it should embed in wax just fine. You’ll want to make sure that the layers of wax are at least as thick as the collage item. For heavier, thicker items you can use screw, glue or sew to adhere it to the panel.
Thank you I so appreciate your input, it is very generous of you.
Thank you for your conversation on the 3 items for encaustic. I have been looking for this type of power surge bar for some time and from your article was able to track this one down.
Thank you, again!
You’re welcome, Becky. I’m happy that the posts have been helpful for you.
I would like find a discussion group where I can share/ask etc with other encaustic artists. Any suggestions? I looked at Pinterest but that seems mostly about sharing work, rather than technique or product questions.
My specific question at the moment is to get information from others about how much demar resin and/or wax medium they add to each of two products:
– encaustiko’s wax sticks
– encaustic art wax blocks
I tend to paint with a brush onto layers of fused wax. I believe this would be considered a cold wax process. I find that these two products are very different in how well they “flow” off the brush as well as how they fuse, especially to each other. I add a equal amount of encaustiko’s XD by weight to the wax sticks and that works well for my process. The encaustic arts wax blocks contains no damar resin and it seems better designed for hot wax processes. Am trying to adapt the wax blocks to my process (horror of horrors!), having invested in quite a few colors (and they have great colors – including neons).
Hi Christine,
There are a lot of great groups on Facebook. Here are a few.
I use the Encaustic Arts wax blocks with the stylus.
Thank you for this article! I have wanted to try this medium for a while, but the process seemed so mysterious! Now I feel I can give encaustic painting a try!
You’re welcome Faith I’m glad that this post helped you. I recommend finding a workshop. It’s a great way to try it out before you purchase all the tools and supplies.